High-density planting of pear trees on seedling rootstock can match early and high yields of high-density plantings of apple trees on size-controlling rootstocks, but only when pear trees are tamed early. It’s important to recognize that the growth habit of the pear is different from that of the apple.
The major problem with pear trees is their strong apical dominance, which limits their willingness to form lateral shoots. Their natural growth habit is upright with few branches. Pruning, using heading cuts to force breaks (shoots), often exacerbates the problem, causing more vigorous upright shoots near the cut. We also know that pruning young trees delays cropping.
The belief that only an equivalent M.9 rootstock for pear trees can match early apple yields is outdated. There are more pear rootstocks in the world than apple rootstocks, but none of them come near the efficiency and productivity of M.9, M.26 and other dwarfing rootstocks.
That’s why we need to look beyond the rootstock “waiting-and-pretending game” and start thinking outside the box. I recommend using proven tree training methods, with the help of chemical and mechanical methods, to tame pear trees.
What is apical dominance?
The pattern of growth and branching is largely determined by the phenomenon of apical dominance in which the apical buds of shoots dominate growth and control the development of lateral buds lower down the shoot.
The plant hormone auxin is produced in quantity by the earliest young leaves, stimulating the development of better vascular connections, and thus developing preferential accumulation of nutrients, growth regulators and carbohydrates.
In this way, the apex of a leader becomes dominant. The auxin produced by the young leaves moves down the shoot by gravity and inhibits the development of lateral buds.
The intensity of apical dominance varies between species and variety, typically being very strong in pear and cherry, while peach is notably less apically controlled.
The degree of apical control therefore regulates the rate of terminal shoot growth, the distribution of lateral shoots, the length and the branch angles of these laterals.
So, when you manage apical dominance in a young, closely planted pear tree, you are well on the way to taming it and turning the high-density orchard into a fruit-producing machine instead of a wood-producing machine.
Tree structure
The framework, or structure, of a fruit tree is developed in sequential stages. First, the leaders are established as the primary framework. Then, the lateral branches are formed as the secondary framework, followed by the fruiting units as the tertiary framework. These different structural parts form a hierarchy that enables the tree to direct its energy into producing more fruit and less wood. If you fail to establish a hierarchical framework in your young trees, you will have a fight on your hands.
The more vigorous the tree, the more important is the hierarchy of the tree’s framework. But it must all be in balance, because pear trees must have good vigor to size their fruit during the last seven weeks of fruit growth.
To speed up the establishment of a simple hierarchical framework in young pear trees, you must avoid developing branches and instead go straight to fruiting units. This multileader, branchless tree-training system is described and illustrated in an earlier Good Fruit Grower article (“Growing fruit without branches,” February 1, 2015).
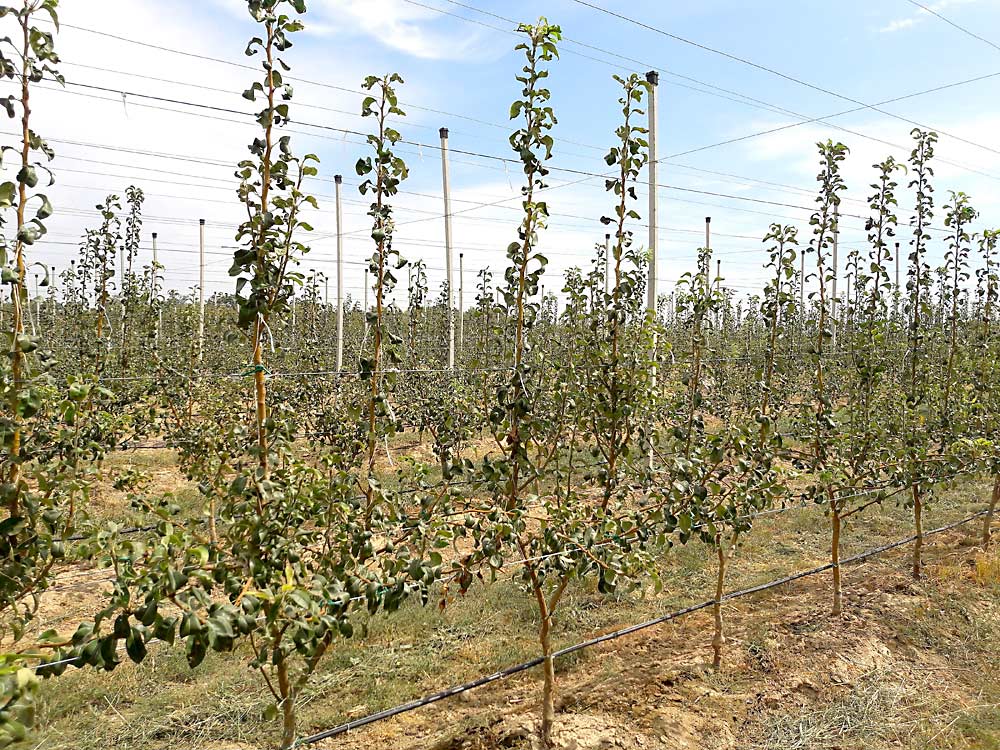
Establish a branchless pear tree with two leaders
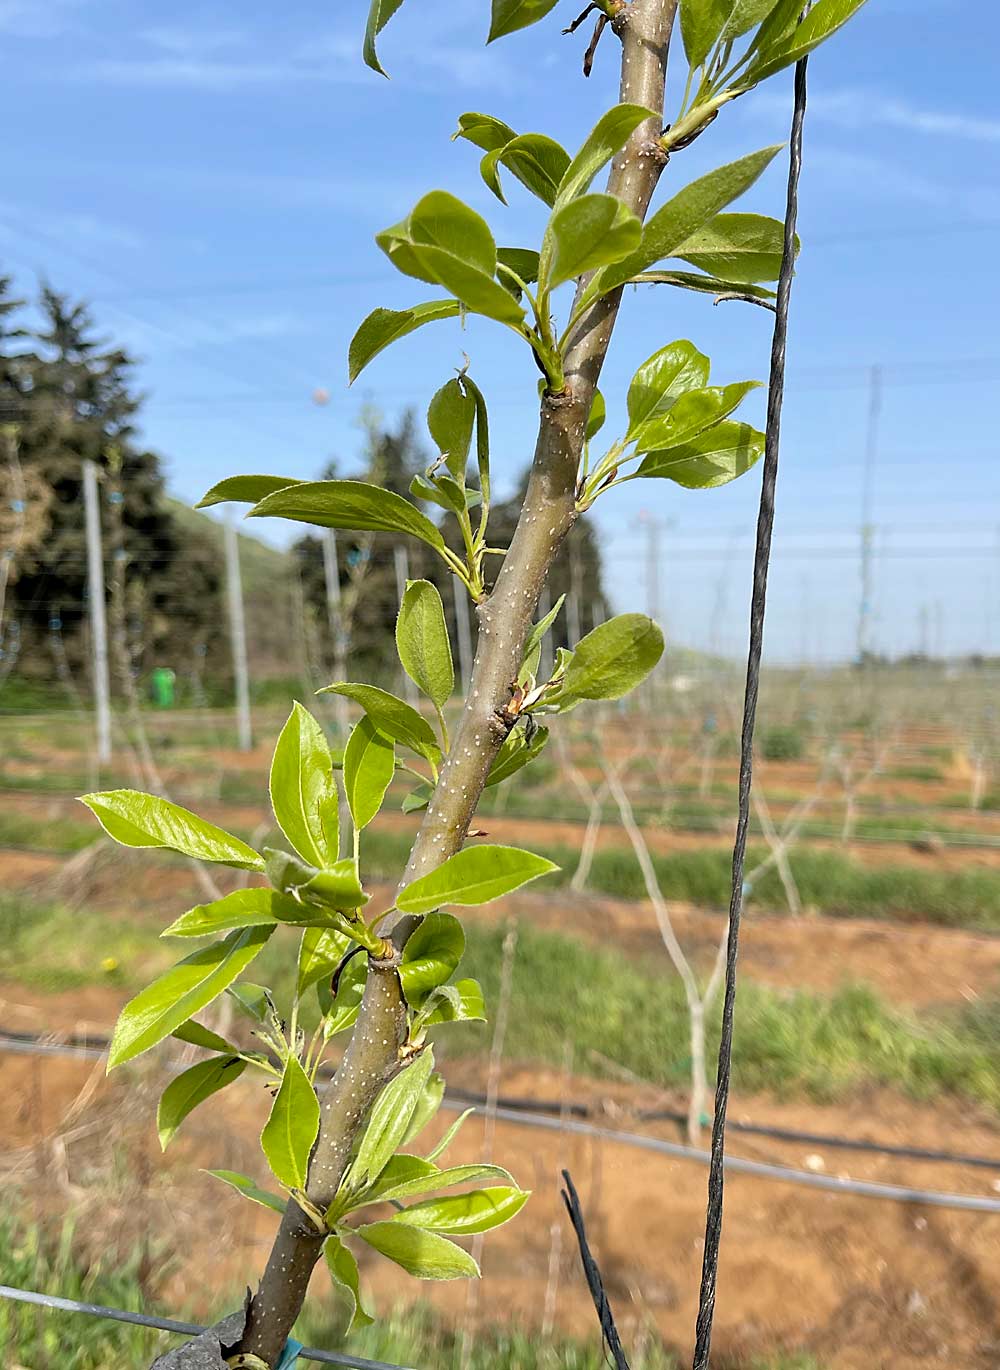
The upright 2D wall, or Open Tatura, starts with a suggested planting distance of 4 by 2 meters (1,250 trees per hectare), with a pollinizer tree near every pole (every 12 meters). The soil has been prepared, the trees are supported by a trellis and drip irrigation has been installed.
First year:
Step 1: Plant trees, preferably as whips or rods, in early winter or as soon as they arrive from the nursery. Grade your nursery trees in groups of small to large. Keep the roots moist — never let them dry out! Keep the tree sizes together as much as possible, for ease of management. Trees do not need to be tall and/or feathered. The ideal tree is a whip about 450 mm above the union, of moderate vigor with a root system that has some fine roots. Container-grown trees get a much better start in life than bare-rooted trees.
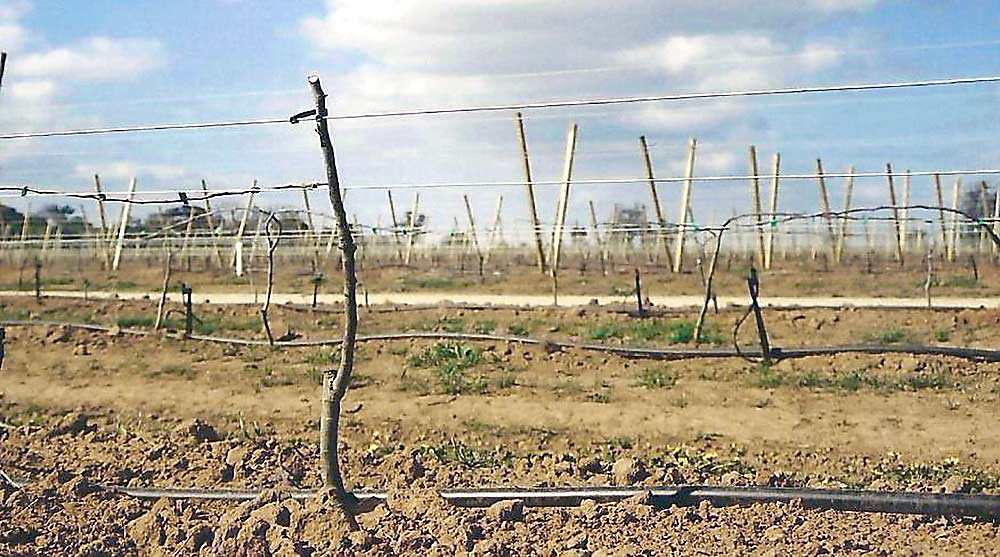
Step 2: After planting, tie the trees to the bottom wire making sure the tie fits securely on the 2.65 mm galvanized high-tensile wire. Cut the trees back to about 400 mm.
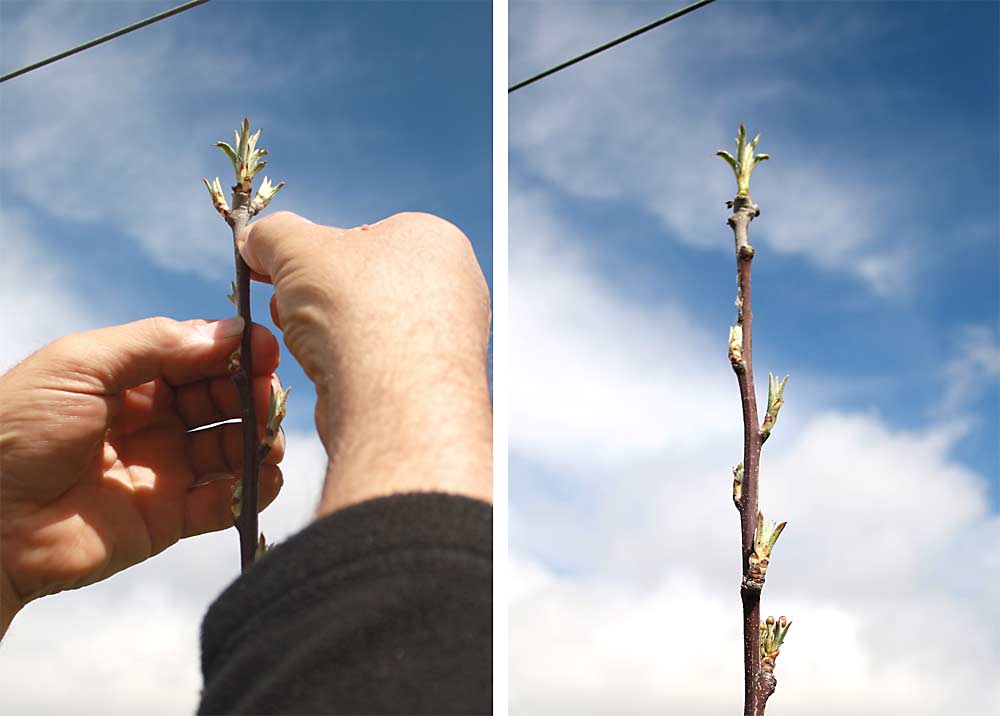
Step 3: When the new shoots are about 100 to 150 mm long, keep the strong shoot immediately under the cut. This shoot is referred to as the No. 1 shoot and is allowed to extend the leader. But, cut or pinch back the two or three new shoots immediately under the cut to short three-leaf stubs (about 25 mm). These shoots are referred to as No. 2, 3 and, sometimes, 4 and are often too upright and not suitable for future leaders, but they play an important role in the development of the new shoots below them. Pinching these shoots will check their growth, provide valuable epinastic forces to widen the angles of the new shoots below them and get more buds to break lower down.
Step 4: Good uniform breaks have occurred along the entire length of each leader. Gradually select two shoots of equal length and tie them to the guide strings with a tapener. Encourage growth of the leaders and remove any sylleptic shoots. (Sylleptic shoots are those produced from a parent shoot that is still itself growing). You can now cut out the top part of the whip that had the strong shoot and the ones that were pinched.
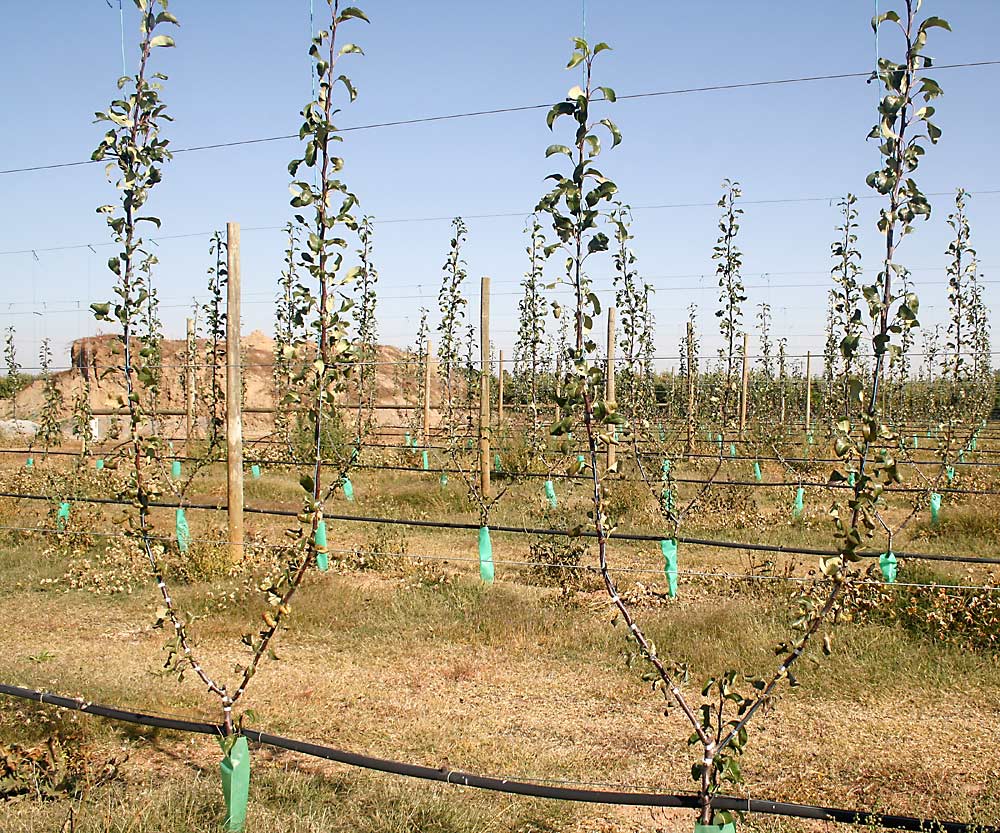
Second year:
Step 5: Spray trees with 2 percent Dormex (hydrogen cyanamide) six weeks before anticipated bud swell (usually late in the first week of April in Washington).
Step 6: At bud swell, spray trees with 10 liters of MaxCel (6-benzyladenine) + 25 g ProGibb SG (gibberellic acid) + 5 kg low-bio urea in 1,000 liters of water.
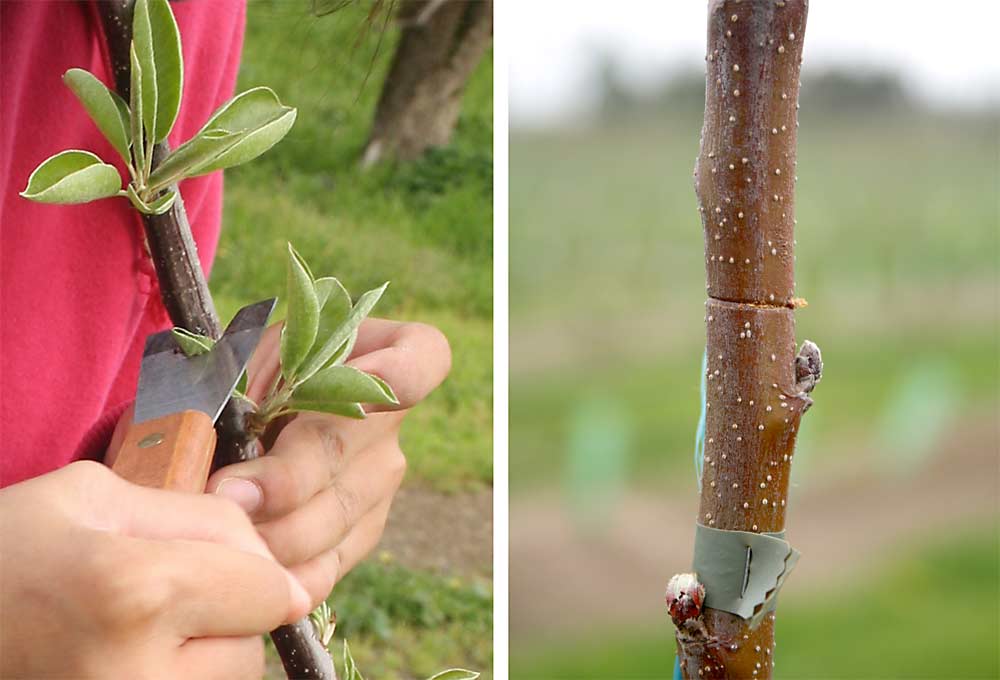
Step 7: To control apical dominance, at early shoot growth, rub out No. 2, 3 and 4. These are the young shoots immediately under the terminal shoot, also called the apex. Remove any flowers from the apex shoot.
Step 8: Pinch several new shoots immediately below the fourth shoot, if they are too vigorous and become too dominant.
Step 9: Score the leaders 25 mm up from where they start on the trunk.
The results:
About four months after bud swell, the results of these nine steps show a calm head with the development of short shoots that will become fruiting units from the bottom up — contrary to what the pear tree wants to do.
You are well on the way to having uniformity in your orchard, which makes management of the trees easy and leads to optimum and sustainable yields of good fruit size and quality. •
—by Bas van den Ende


Leave A Comment